
Why samples matter
Drawings and dimensions are useful, but the actual bottle material, stiffness and base shape are what determine how it behaves in a feeder.
Sample testing
Real bottle samples help confirm whether the proposed machine route will handle the bottle reliably at the required speed.
Specification advice
Drawings and dimensions are useful, but the actual bottle material, stiffness and base shape are what determine how it behaves in a feeder.
Send several empty bottles, photos, line speed, downstream machinery details and any current infeed problems.
The test should show that bottles can separate, stand up, transfer and feed at the practical output expected on the real line.
Practical checks
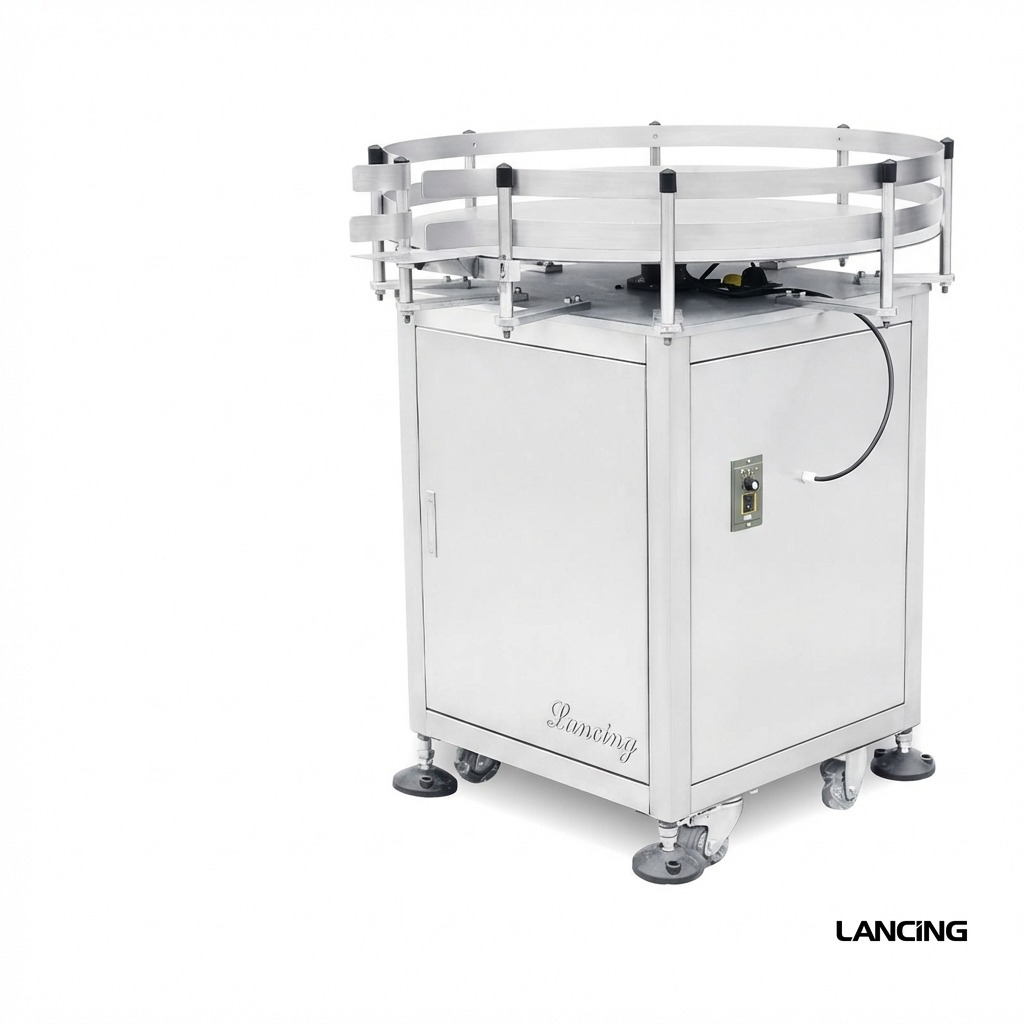
The best enquiry includes real bottle information, the target line speed and details of the downstream equipment. This gives the supplier enough information to recommend a sensible machine route instead of guessing from a catalogue picture.
For urgent projects, send bottle photos, sample dimensions, output target, conveyor height and a short description of the current line problem.
Questions
It is possible to start from dimensions, but real samples reduce the risk of choosing the wrong feed route.
Several empty bottles are better than one because they show variation and allow feeding behaviour to be checked.
Future formats should be discussed before selection so changeover requirements can be considered.
Related pages
Open this page for related bottle unscrambler specification advice.
Open this page for related bottle unscrambler specification advice.
Open this page for related bottle unscrambler specification advice.
Open this page for related bottle unscrambler specification advice.
Open this page for related bottle unscrambler specification advice.
Open this page for related bottle unscrambler specification advice.
Open this page for related bottle unscrambler specification advice.
Open this page for related bottle unscrambler specification advice.
Open this page for related bottle unscrambler specification advice.
Trial protocol
A useful bottle trial is repeatable and documented. It should use production-representative bottles and show the full route from loading to downstream transfer.
| Trial stage | What to do | Evidence to retain |
|---|---|---|
| Sample control | Identify bottle format, material, empty weight, dimensions and starting surface condition. | Sample list, photographs and notes on known variation. |
| Normal feed | Run representative loading and downstream demand, not only a short manually assisted sequence. | Continuous video, guide settings and observed interruptions. |
| Stability and damage | Observe tipping, crowding, rubbing, deformation and transfer impacts. | Before/after bottle inspection and photographs of contact areas. |
| Orientation and outfeed | Keep loading, bottle presentation, outfeed and downstream handover visible. | Uncut orientation video with the weak points in frame. |
| Stop and recovery | Apply a planned downstream stop and a controlled blocked-bottle condition, then recover safely. | Detection, stop, access, clearance and repeatable restart record. |
| Changeover extremes | Run the smallest, largest and least stable bottles using documented settings. | Change-part list, settings sheet and outcome for each extreme. |
Qualitative acceptance criteria
Where verified numerical acceptance criteria are unavailable, agree clear qualitative evidence instead of inventing a figure.
Bottles remain stable through the agreed route
Presentation at outfeed suits the downstream machine
No unacceptable scuffing, marking or deformation
Planned stops do not create uncontrolled pressure
Blocked-bottle recovery is safe and repeatable
Changeover extremes run from documented settings
Video shows loading, orientation and transfer continuously
Actions and limitations are recorded before sign-off
Trial evidence routes
One trial can generate both records, but the acceptance questions are different. Surface inspection asks whether the bottle remains acceptable; orientation video asks whether the bottle follows the agreed presentation route.
Prepare pre-trial reference samples, observe contact and accumulation, then inspect the same bottle areas after representative running.
Record the continuous bottle path from loading through arrangement, orientation, outfeed, normal stop and restart.
Record the first abnormal event, detection, safe clearance and repeatable return to stable flow.
Use the same approved bottle IDs across every record
State the format settings and change parts used
Retain unedited video for the agreed operating conditions
Close open items before production handover
Trial evidence
A sample trial is strongest when it represents production variation and leaves a record another person can understand after the machine has been adjusted.
Do not send only the cleanest or most rigid samples. Include the agreed size range and normal variation in empty weight, wall stiffness, base shape, colour or decoration, plus samples from more than one production lot where those differences are relevant. Mark the bottles or sample groups so a trial observation can be tied back to the exact format tested.
The buyer and supplier should agree which sample represents the easiest, typical and worst credible condition before the machine settings are finalised.
A meaningful trial is long enough to include normal bottle replenishment, recirculation, downstream backup, controlled restart and the operating conditions that expose instability. There is no universal duration that proves every application. The run length and events should be agreed in advance, and the output should be assessed at the defined handover point using the identified bottle sample.
The FAT and SAT acceptance guide explains how to turn those conditions into a recorded test.
Photograph the sample condition before and after the trial under consistent lighting, keep sample identities visible and distinguish pre-existing marks from trial-created changes. Agree the inspection method before running, especially for decorated or presentation-sensitive bottles. A qualitative acceptance decision is more defensible when the same viewing conditions and bottle areas are used each time.
Use the existing scuffing and damage trial guide for the inspection record.
Repeat the worst-case bottle run, the critical transfer, a downstream backup and restart, and any changeover step affected by the adjustment. Record the final guide positions, speed settings, sensors and parts so the result can be reproduced. A successful short rerun after one adjustment does not replace the agreed sustained acceptance sequence.
Final settings should be attached to the trial record and carried into the acceptance evidence pack.
Week 2 buyer questions
Select the governing bottle formats, separate environmental effects from mechanical causes and retain enough evidence for final specification.
Select samples by risk rather than by choosing only the smallest and largest formats. Include the lightest bottle, the tallest relative to its base, the softest material, the most difficult shoulder or orientation, the format most sensitive to scuffing and any bottle that has already caused infeed trouble. Label each sample group and record which acceptance question it is intended to govern.
Use a qualitative comparison under controlled, recorded conditions. Note whether bottles cling to one another, remain on guides after mechanical contact ends, attract dust or release inconsistently. Repeat the observation after normal handling and at more than one stage of the route. Record the bottle material, visible symptoms and surrounding conditions. Do not assign a static level unless suitable measurement equipment and a defined method are actually used.
First observe the bottle with surrounding fans, air knives, open doors and extraction conditions documented. Repeat the same machine setting while changing only the suspected airflow condition where it is safe and practical. If the bottle remains unstable at the same mechanical point regardless of airflow, guides, transfer geometry or speed may be the stronger cause. If behaviour changes with airflow, include that condition in the final site trial and layout review.
Remove bottle debris, dust and residue from the contact path, then inspect guides, rotating surfaces, transfer plates, sensors and change parts for movement or fresh marks. Use clean reference bottles for the next condition so earlier scuffing is not mistaken for a new result. If settings change, record them before restarting. Cleaning and inspection between trials helps separate machine effects from contamination or damage accumulated during previous runs.
Retain the bottle schedule, machine route, settings, change parts, sample condition, loading method, observed speed basis, stop/restart sequence, orientation evidence, jam events, surface inspection and open items. Link photographs or video to the exact bottle format and condition. The record should show what was demonstrated, what remains trial-dependent and what the customer or supplier must confirm before the machine is accepted.
Trial to production record
A successful trial is only useful if its bottle set, settings, loading method and evidence are carried into the final machine handover.
Record the approved bottle IDs, dimensions and condition; machine and guide settings; change parts; normal loading method; sustained demand; transfer and accumulation condition; stop, restart and recovery results; surface inspection; video or photographs; open items; and the final decision for each format. Link every setting to the bottle that was actually tested.
Retain representative approved samples or clear reference images that show the pre-trial and accepted post-trial condition for the governing formats. Where appearance is commercially important, use consistent lighting and viewing conditions. The record should identify any pre-existing marks and the point in the machine where new contact was observed.
Use the trial settings as controlled starting values, then verify them on the installed line with the real conveyors, signals and downstream stop pattern. Record any change made on site and update the format sheet. Do not allow the final production setup to exist only as handwritten notes that are not linked to the approved bottle evidence.
Specification support
Lancing UK can advise whether a compact rotary unscrambler, automatic bottle unscrambler or wider line-infeed package is the correct route.